Purchase a Booth on ZAPP® in 7 Easy Steps
These instructions only apply to events who sell their booth products through the ZAPP® system. Not all shows use ZAPP® to sell booths so please reference any communications sent to you by the event to verify how and where to make your purchases.
1. Log in to your ZAPPlication.org account. You will land on the My ZAPPlications page.
2. Find the name of the show you wish to make purchase a booth for.

If you have not yet accepted the invitation, click on the Accept or Reject Invite link in green and then select the Accept Invitation button.

3. To purchase a booth product for this show, click on the green Purchases link in the Options column.

Or click on the ZAPP® Shop button on the right-hand side of your page.
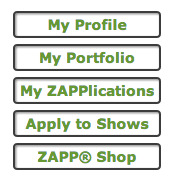
Or click on the purple My Cart button in the upper right corner.

4. Select the desired booth product by clicking the green Add link.
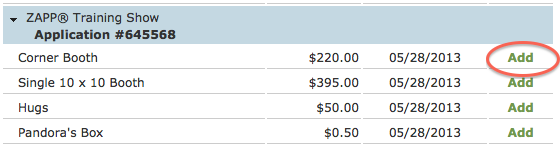
The booth will be added to the Shopping Cart. Click on the yellow Review Cart button.

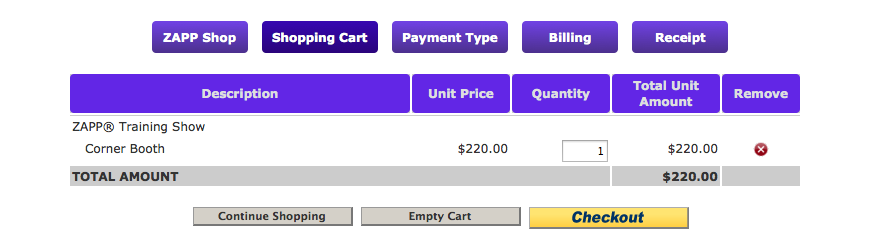
5. Verify the product selection, quantity, and amount are all correct. Press the yellow Checkout button.
6. Choose your payment method from the drop-down menu and select the corresponding yellow Pay With… button.
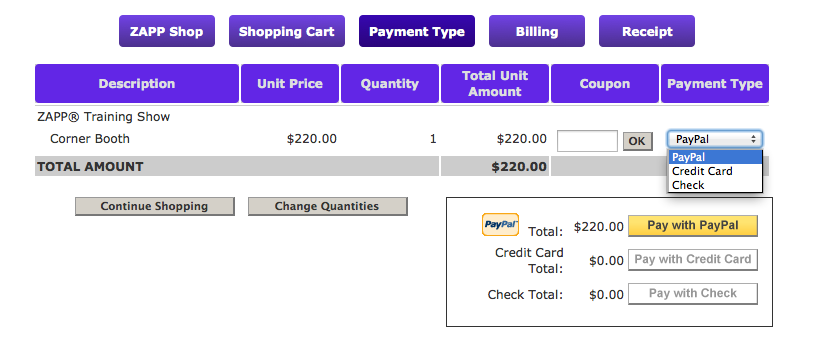
Selecting the PayPal payment type option will direct you to PayPal’s website to log in to your PayPal account. After accessing your PayPal account, you will be taken back to the ZAPP® site to complete your transaction.
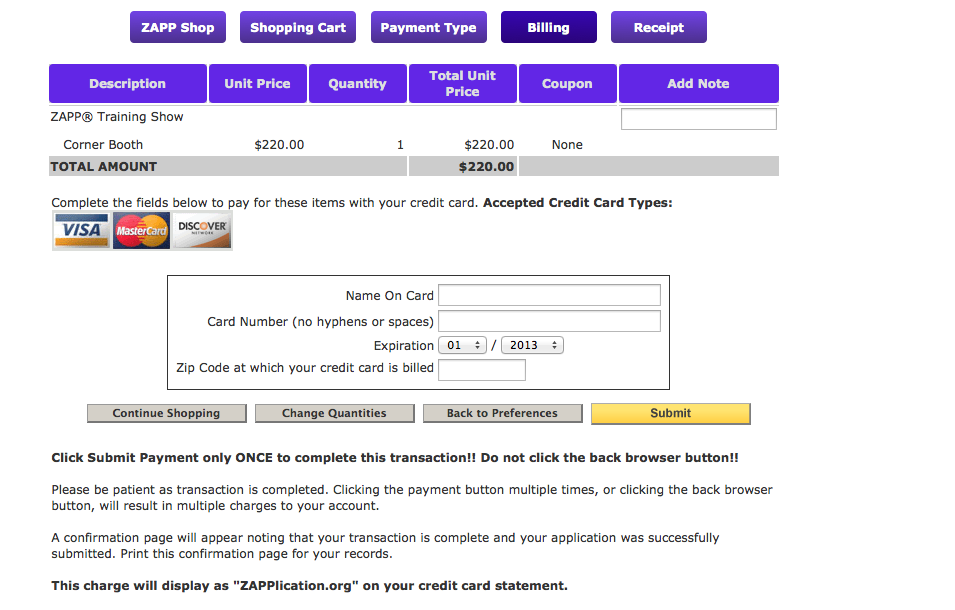
Selecting Credit Card will direct you to the area where you add in credit card information.
Selecting Check will direct you to an area where you can add the check number.
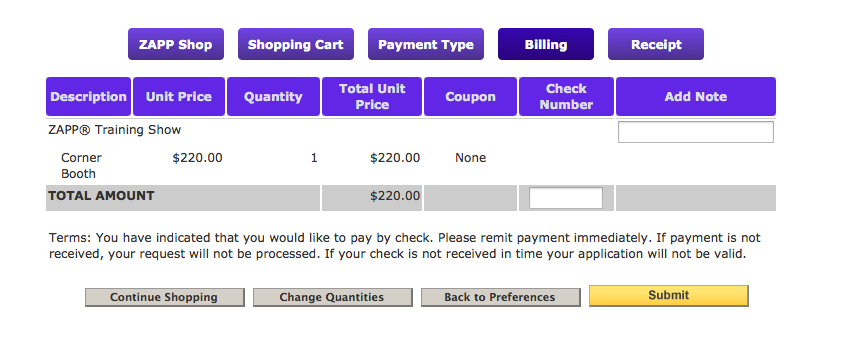
7. After you enter the proper payment information press the yellow Submit button. A receipt confirming your purchase will be emailed to you. You can also view your purchases on your My ZAPPlications page under the Payments Made column.